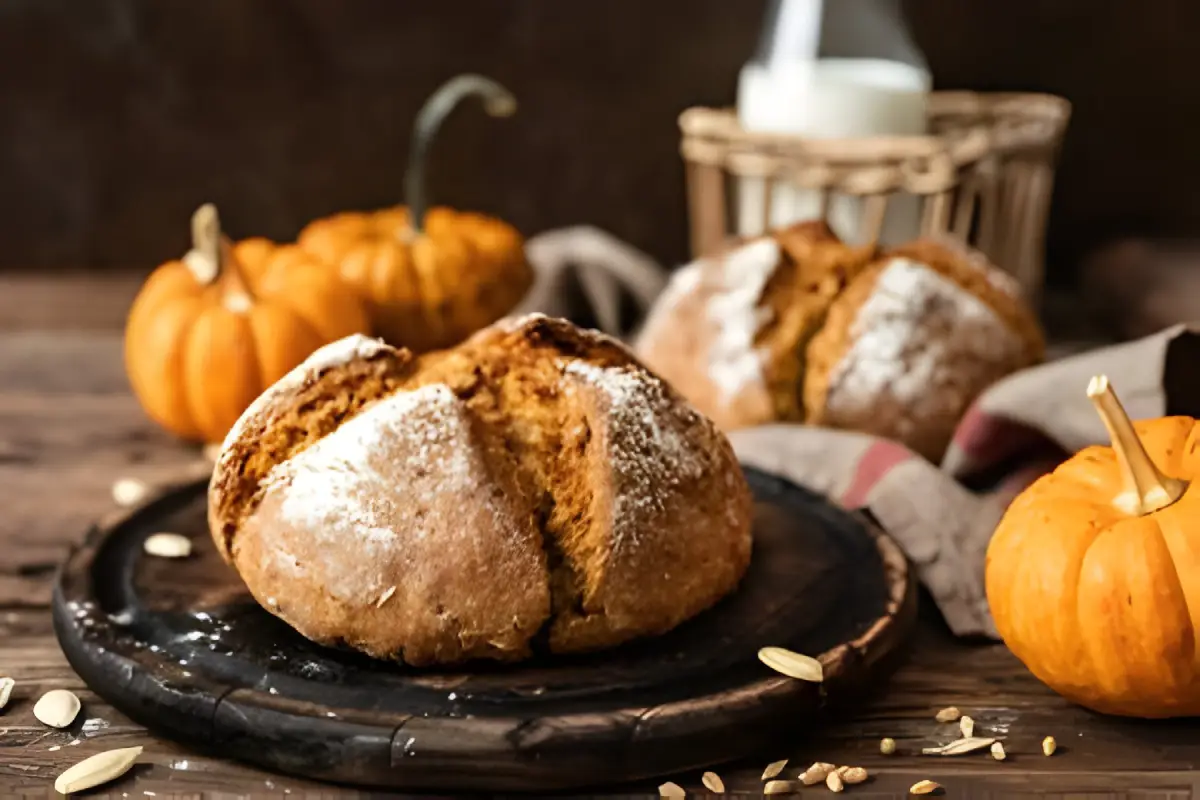
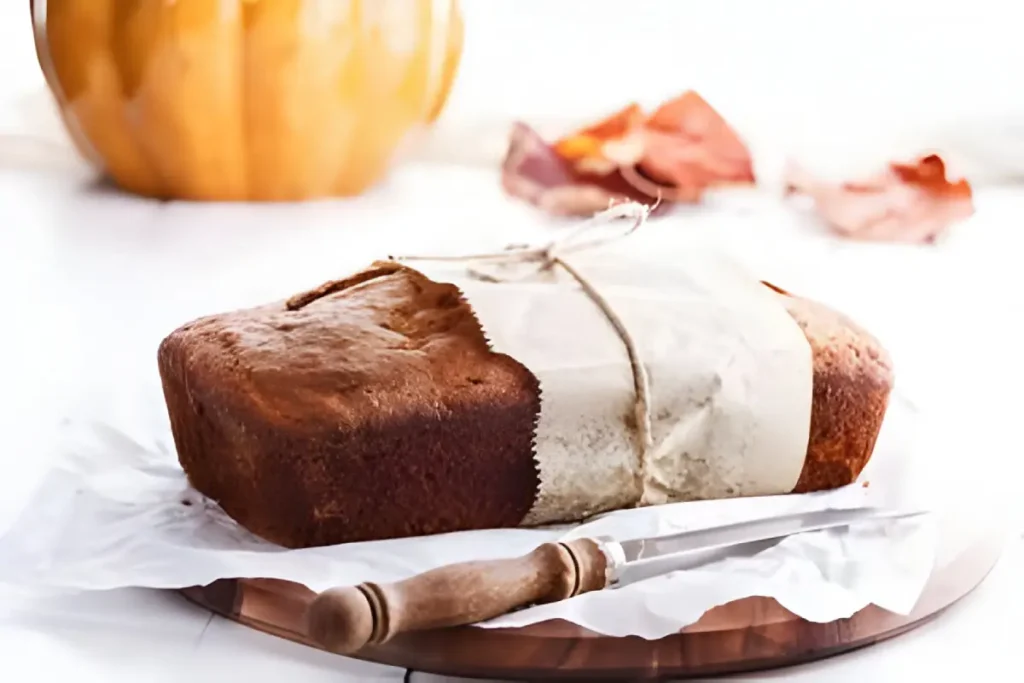
As the leaves turn and the air chills, the aroma of pumpkin spice fills the air, heralding the return of autumn’s most beloved ritual: baking pumpkin bread. Yet, amidst the joy and anticipation, a common quandary vexes many a baker—why does pumpkin bread crack on top? This article embarks on a culinary investigation to unravel this mystery. Through understanding the science of baking, mastering oven temperatures, and perfecting ingredient ratios, we aim to guide you toward baking the perfect, crack-free loaf. So, let’s preheat our ovens and delve into the art and science of making flawless pumpkin bread, ensuring your next loaf is as smooth as the pumpkin puree it’s made with.
The Science of Baking Pumpkin Bread
Understanding Quick Breads
Quick breads, like our beloved pumpkin bread, are the unsung heroes of the baking world. They’re versatile, requiring no yeast but instead relying on chemical leavening agents like baking powder or soda. This magic makes them rise quickly, offering a delightful array of textures—from dense and moist to light and fluffy. However, this reliance on chemical leavening introduces a layer of complexity. The balance of ingredients and the baking environment must be just right; too much leavening and your bread could rise too quickly and then fall, too little, and it might not rise enough, leading to a dense texture. Mastering quick breads lies in understanding these nuances.
Why Does Pumpkin Bread Crack?
At the heart of the cracking conundrum is the oven temperature. As the bread bakes, the outside sets before the inside has fully risen. This discrepancy creates tension, and as the interior continues to expand, it seeks the path of least resistance, breaking through the top. This phenomenon is akin to the earth’s crust cracking to relieve pressure from below. In the realm of pumpkin bread, this geological event is caused by the heat of your oven and the steam within your batter.
The ratio of wet to dry ingredients also plays a crucial role. Pumpkin bread, with its generous addition of moist pumpkin puree, walks a fine line between being delightfully moist and frustratingly undercooked. The balance of flour, eggs, fat, and pumpkin puree must be precise. Too much liquid, and the bread struggles to set properly, leading to an uneven rise and, ultimately, that characteristic crack along the top.
Moreover, the type of fat used can influence the bread’s texture and how it cracks. Oils tend to create a more moist crumb, which can expand more during baking, while butter offers a firmer structure but less moisture. The dance between these ingredients is delicate, requiring a baker’s intuition and a bit of science to perfect.
Understanding the science behind why pumpkin bread cracks is the first step in mastering the art of baking it. By controlling the oven temperature and paying close attention to ingredient ratios, you can minimize the likelihood of a crack forming. However, it’s also important to embrace the unique beauty of each loaf, crack or no crack, as a testament to the homemade charm of baking.
Stay tuned as we dive deeper into strategies to prevent cracking and explore other common baking issues, ensuring your pumpkin bread is as perfect as a crisp autumn day.
Preventing the Crack
Achieving that smooth, crack-free top on your pumpkin bread might seem like chasing a culinary unicorn, but with a few tweaks to your baking process, it’s entirely within reach. Let’s explore how managing oven temperature and balancing your ingredients can lead to perfection every time you bake.
Achieving a Crack-Free Surface
Mastering Oven Temperature:
The key to preventing your pumpkin bread from cracking lies in understanding and controlling your oven temperature. A too-hot oven can cause the bread’s crust to form too quickly, not giving the inside enough time to rise evenly. This discrepancy leads to the dreaded crack as the bread seeks space to expand. To avoid this, preheat your oven to the recommended temperature, then consider reducing it by 25°F once the bread is inside. This slight adjustment can help manage the rate at which the crust forms, allowing the inside and outside of the bread to bake more uniformly.
Balancing Wet and Dry Ingredients:
The ratio of wet to dry ingredients in your batter is another critical factor in preventing cracks. Too much liquid can make the bread too moist, causing an uneven rise and the formation of cracks. Ensure you’re measuring your ingredients accurately, especially the pumpkin puree, which can vary in moisture content. Aim for a batter that’s moist but not overly wet, using the right balance of flour, eggs, fat, and pumpkin puree.
Mixing Techniques to Avoid Overdevelopment
The way you mix your batter can significantly impact the texture and appearance of your pumpkin bread. Overmixing is a common pitfall that can lead to a tough bread texture and contribute to cracking. When you mix the wet and dry ingredients too vigorously, you develop the gluten in the flour more than necessary, which makes the bread’s structure too strong. This overdevelopment restricts the bread’s ability to rise evenly, forcing it to crack as it seeks space to expand.
To avoid this, mix your batter just until the dry ingredients are moistened. Using a gentle hand or a mixer on the lowest setting, blend the ingredients until they’re just combined. Remember, a few lumps in the batter are perfectly fine and much preferable to an overmixed dough.
Oven Temperature and Baking Time Adjustments
The oven’s role in the cracking saga is pivotal. An oven that’s too hot can cause the outside of the bread to set too quickly, leaving the inside no choice but to crack through the surface as it continues to cook and expand. Conversely, an oven that’s not hot enough might not give your bread the initial boost it needs to rise properly.
To strike the perfect balance, preheat your oven to the temperature recommended in your recipe, then consider reducing it by 25°F once you put the bread in. This slight adjustment can help manage the rate at which the crust forms, allowing the inside and outside of the bread to bake more uniformly. Additionally, placing a pan of water on the lower rack of the oven can help maintain a moist environment, reducing the likelihood of cracking.
By mastering these techniques, you’re well on your way to baking pumpkin bread that’s as visually appealing as it is delicious. Remember, while a crack-free loaf is a worthy goal, the true joy of baking comes from the process and the flavors you create. Stay tuned for more insights into troubleshooting common pumpkin bread problems, ensuring every baking adventure ends in success.
Troubleshooting Common Pumpkin Bread Problems
Baking pumpkin bread is a beloved autumn tradition, yet it’s not without its challenges. Beyond the aesthetic issue of cracking on top, bakers might encounter a range of problems from texture issues to uneven baking. Let’s dive into some common hurdles and their solutions, ensuring your pumpkin bread is as close to perfection as possible.
Addressing Underbaking and Overmixing
Underbaked Pumpkin Bread:
One of the most common issues is underbaked pumpkin bread, characterized by a gummy or dense texture in the center. This often occurs when there’s too much moisture in the batter, either from an excess of pumpkin puree or other wet ingredients. To combat this, ensure you’re measuring your ingredients accurately. If you’re experimenting with adding extra pumpkin for flavor, compensate by slightly increasing the amount of flour to maintain the balance.
Overmixing:
As mentioned earlier, overmixing can lead to a tough and dense loaf. It’s crucial to mix your batter just until the ingredients are combined. Switch to folding with a spatula once you’ve added the dry ingredients to the wet, and stop as soon as you no longer see streaks of flour. This gentle approach helps preserve the tender crumb that pumpkin bread is known for.
Solutions for Common Texture Problems
Too Dry:
If your pumpkin bread is coming out too dry, it might be due to overbaking or not enough fat in the batter. Keep a close eye on your bread as it bakes, and start checking for doneness a few minutes before the recipe suggests. A toothpick inserted into the center should come out with a few moist crumbs attached, signaling it’s time to take it out of the oven. Additionally, ensure your recipe includes enough fat, such as oil or butter, which contributes to the bread’s moistness.
Too Moist:
Conversely, a loaf that’s too moist might have too much pumpkin puree or not enough flour. Stick closely to the recipe’s recommended amounts, and remember that different brands of pumpkin puree can vary in moisture content. If you’re using homemade puree, it might be wetter than its canned counterpart, so consider reducing the amount slightly or straining it to remove excess water.
By keeping these tips in mind, you can navigate the common pitfalls of pumpkin bread baking. Remember, every oven is different, and slight adjustments to baking times and temperatures might be necessary. Embrace the process of trial and error, and know that with each loaf, you’re honing your skills and getting closer to your ideal pumpkin bread.
In the next section, we’ll explore ways to enhance your pumpkin bread, from achieving the perfect moist and tender crumb to adding delicious flavors and toppings. Stay tuned for expert advice that will take your pumpkin bread from good to great.
Enhancing Your Pumpkin Bread
Elevating your pumpkin bread from simply satisfying to utterly irresistible involves more than just solving common baking issues. It’s about infusing every slice with the perfect balance of moisture, tenderness, and flavor. Here’s how to ensure your pumpkin bread stands out in the crowded field of fall treats.
Adjusting Moisture with Pumpkin Puree
The key to moist pumpkin bread lies in the star ingredient: pumpkin puree. This not only adds a rich, autumnal flavor but also contributes significantly to the bread’s moist texture. For the best results, opt for canned pumpkin puree for its consistency in moisture and texture. If you prefer homemade puree, ensure it’s not too watery by straining any excess liquid. Remember, the amount of puree you use can affect the bread’s moisture level, so follow the recipe’s guidelines closely, adjusting only if you’re familiar with the batter’s ideal consistency.
The Role of Fats and Sugars
Fats, such as oil or butter, play a crucial role in creating a tender crumb in your pumpkin bread. Oil tends to keep the bread moister for longer, thanks to its liquid state at room temperature, making it a popular choice for quick breads. Butter, on the other hand, adds a rich flavor that oil can’t match. For the best of both worlds, consider using a combination of both oil and butter in your recipe.
Sugars do more than sweeten your pumpkin bread; they also contribute to its moistness and tender texture. Brown sugar, with its higher moisture content due to the molasses, can make your bread even more tender and flavorful. Experiment with different types of sugar to find the balance that works best for your taste and texture preferences.
Creative Additions and Storage Tips
Flavorful Toppings and Add-Ins:
Pumpkin bread is a fantastic base for various flavors and textures. Consider adding nuts like walnuts or pecans for a satisfying crunch. Chocolate chips can introduce a rich, decadent touch that’s loved by all ages. Spices such as nutmeg, clove, or cardamom can enhance the classic pumpkin taste. For an unexpected twist, incorporate a cream cheese swirl for a creamy, tangy flavor contrast.
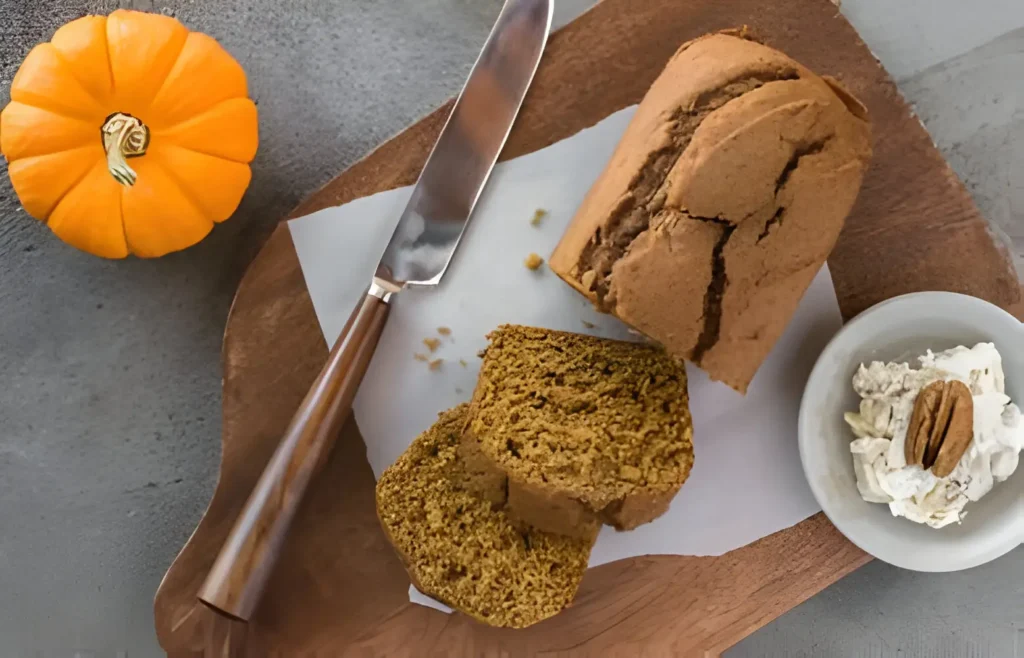
How to Store and Freeze Pumpkin Bread:
To store pumpkin bread and keep it fresh, wrap it tightly in plastic wrap or aluminum foil after it cools. Store at room temperature for up to three days. For bread with perishable ingredients like cream cheese, refrigerate to extend its freshness.
For freezing, wrap the bread or individual slices in plastic, then in aluminum foil, and place in a freezer bag. Frozen pumpkin bread can last up to three months. Thaw in the refrigerator or at room temperature when ready to enjoy. Briefly reheating in the oven at 300°F for about 10 minutes can refresh the bread, making it taste freshly baked.
Adding unique ingredients and employing proper storage techniques can transform pumpkin bread into a versatile treat for any occasion. Whether you’re enjoying a slice fresh from the oven or savoring a piece that’s been thoughtfully preserved, these tips ensure your pumpkin bread is a memorable part of your autumn baking repertoire.
Next, we’ll answer some common questions about pumpkin bread, offering more tips to enhance your baking experience. Stay tuned for practical advice that will help you bake with confidence and creativity.
Frequently Asked Questions
As we delve into the world of pumpkin bread baking, several questions often arise, reflecting the curiosity and eagerness of bakers to perfect their craft. Here, we address some of the most common inquiries, providing insights and tips to enhance your baking experience.
Can I use fresh pumpkin instead of canned?
Absolutely! Fresh pumpkin can be a delightful alternative to canned, offering a unique taste and texture. Choose a sugar or pie pumpkin, roast or steam it until tender, then puree. Keep in mind, fresh pumpkin might be wetter than canned, so you may need to strain it to achieve the right consistency for your batter.
Why is my bread dense?
Dense bread can result from several factors, including overmixing, using too much pumpkin, or not enough leavening agent. To avoid this, mix just until the ingredients are combined, measure your pumpkin carefully, and ensure your baking powder or soda is fresh.
How to avoid soggy bread?
Cooling your bread on a wire rack is crucial to prevent sogginess. This method allows air to circulate around the bread, stopping condensation from making the bottom soggy. Once completely cool, wrap it well to maintain freshness.
Can I add extras to my bread?
Definitely! Pumpkin bread is incredibly versatile. Nuts, dried fruits, chocolate chips, or spices like ginger or cardamom can all enhance your bread. Feel free to experiment with different combinations to find your favorite mix.
How long does it last? Can it be gluten-free?
Pumpkin bread keeps well for up to three days at room temperature or a week in the fridge. For longer storage, freeze it as outlined earlier. And yes, it can be made gluten-free by using a gluten-free flour blend designed to replace regular flour 1:1. Some adjustments might be needed for texture and moisture.
With these FAQs addressed, you’re equipped with additional knowledge to tackle the world of pumpkin bread baking. Remember, baking is as much about the journey as it is about the destination. Each loaf offers a chance to learn, adapt, and, most importantly, enjoy the delicious results of your efforts. Happy baking!
Conclusion: Perfecting Your Pumpkin Bread
As our exploration of pumpkin bread and its nuances comes to a close, we’ve journeyed through the science of baking, uncovered strategies to prevent that all-too-common crack on top, and delved into troubleshooting common issues. We’ve also discovered ways to enhance the flavor, texture, and overall appeal of our loaves, ensuring each slice is a testament to the joy of autumn baking.
Pumpkin bread, with its rich flavors and moist texture, is more than just a seasonal treat; it’s a canvas for creativity and a reason for gathering. Whether you’re a seasoned baker or someone just beginning to dust off their mixing bowls, the journey to the perfect loaf is filled with learning, experimentation, and, of course, tasting.
Remember, the beauty of baking lies not only in the delicious outcomes but in the process itself. Each ingredient, from the pumpkin puree to the spices that give this bread its signature flavor, plays a crucial role in crafting something truly special. And while achieving a crack-free top is a worthy goal, it’s the flavors, aromas, and shared experiences that truly matter.
So, as you preheat your oven and prepare your ingredients, embrace the opportunity to create, to experiment, and to enjoy the warmth and comfort that only homemade pumpkin bread can bring. May your loaves be moist, your spices be fragrant, and your kitchen be filled with the joy of baking.
Happy baking!